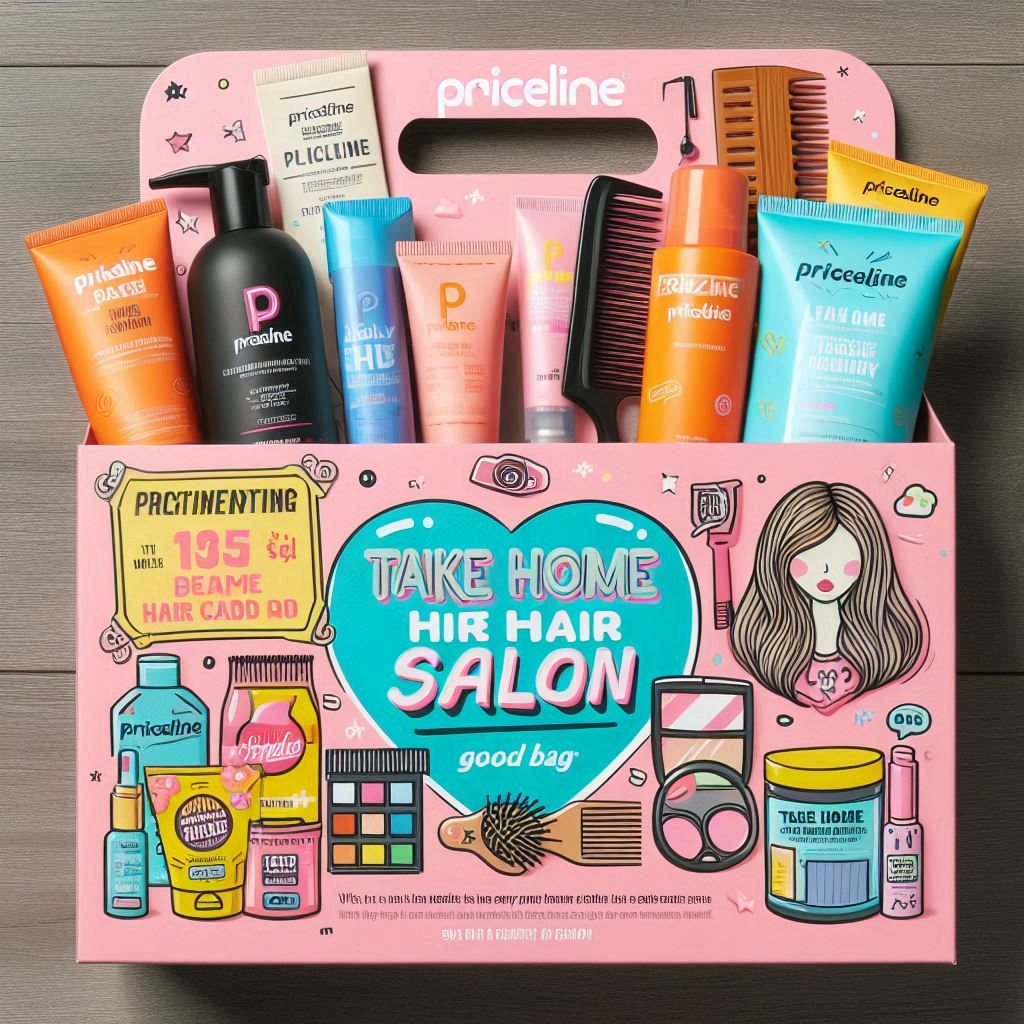
Priceline Take Home Hair Salon Goody Bag
I couldn’t stay away from Priceline for long and when I saw the offer of “bringing the hair salon home” it took me less than a minute to decide what I wanted to buy. I apologise for being a bad influence on your wallets but this is an amazing collection of hair goodies that I couldn’t resist.
In order to qualify for the bag you need to spend over $40 on the participating hair brands in the pack. The value of the bag is over $185 so it’s the gift that keeps on giving. I bought some scunci hair twists and hair ties because I have wanted to try the twists for a while and I always need hair ties.
Next up I got two of my favourite John Frieda products, the Fly-Away frizz tamer and the Precision Colour Foam in shade 5N.
This ended up being just above $40 thanks to a special 10% off promotion for Priceclub card members in store. The stylish black bag I received was heavy. Really heavy and my expectations were grand.
Here is a list of what I received. All products are full-size unless stated otherwise.
– Fullsize John Frieda Frizz-Ease Dream Curls Style Starting Shampoo
– Napro Super Soft Colour Shine Shampoo
– 2 X Wella Balsam Protection & Shine Conditioner
– Models Prefer Professional anti static carbon tail comb
– Revlon Colorsilk Hair Colour voucher. You get to pick the colour which is just fabulous.
– Scunci expandable ponytailer
– Alchemy 24 hour intensive moisture leave-in conditioner
– Apivita Porpoline shampoo with almond & honey (sachet)
– Edward Beale Pure Argan Oil
– $3 voucher off any Frizz Ease Conditioner
– John Frieda Root Awakening Health Boosting Leave-In Conditioner
– Final Net Superhold Salon Hairspray
– Cedel dry conditioner (travel size)
– Klorane dry shampoo (travel size)
– Elvive Colour-Protect Deep Repair Treatment
– Lee Stafford Flat Iron Protection Shine Mist
– John Frieda Mirror
– John Frieda hood. I am guessing it can be used as a hairdrying turban?
I am really excited about my new goodies and it really feels like I have a hair salon at home now.
Did you snap up this offer yet or are you going to?
It is available from 10th – 21st May, just FYI.
Remember, there are no excuses for bad hair days now